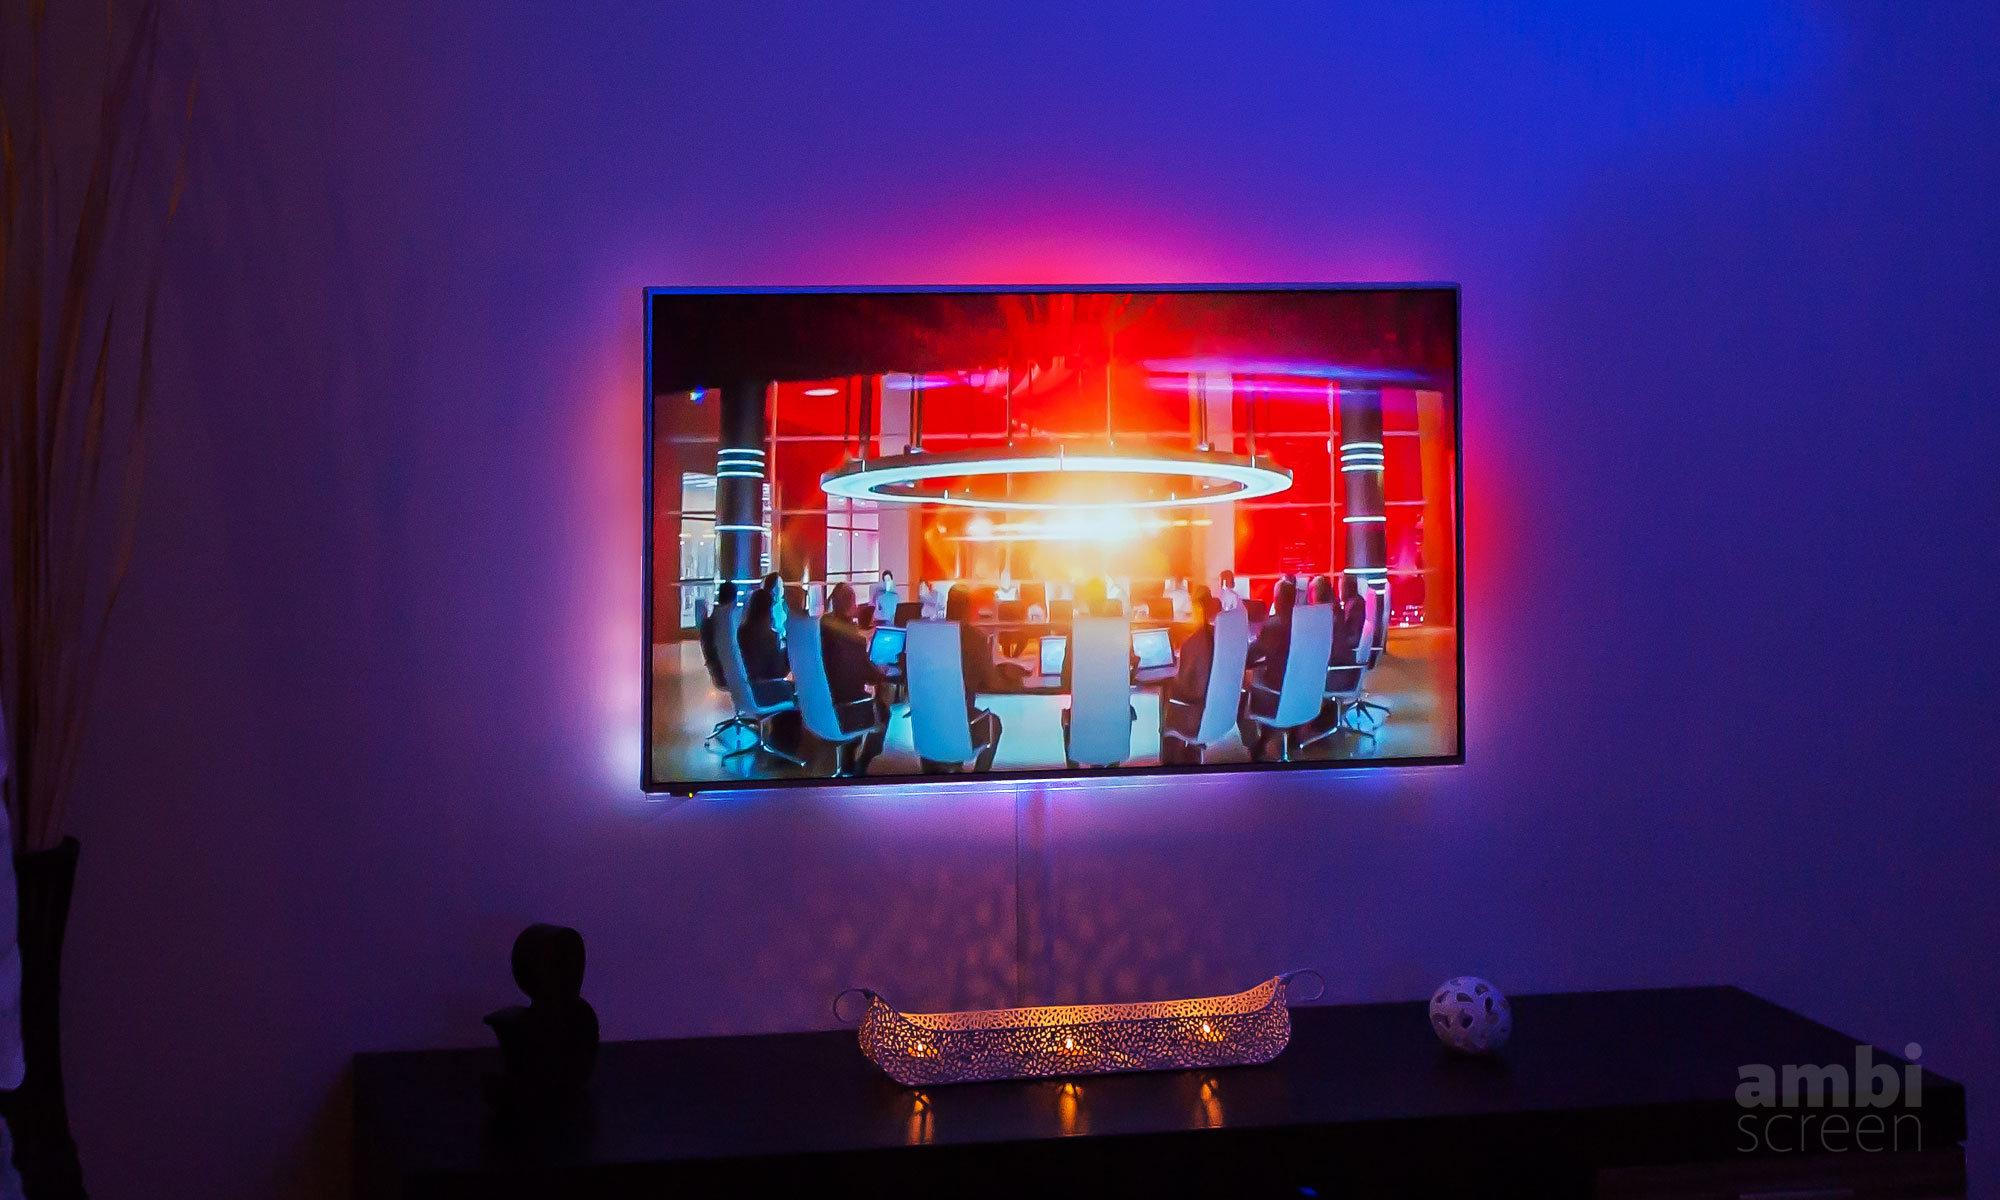
Correct placing of the LED strip is very important to ensure that the final effect is correct. You should make sure that the LED stripe is mounted symmetrically and at a consistently equal distance from the wall behind your display. LED stripe should not be placed too close to the wall, as this will cause a “spot light” effect. The recommended distance for best effect is 4 -15 cm from the wall but it may vary depending on your display, placement, and wall color.
LED installation surface must be smooth, clean and dry. Do not cover ventilating holes of your display. The part of LED components cannot be fixed on the surface of the sharp edge. LED Strip should not be collided or crushed.
When placing the LEDs, you should consider the following factors: Display distance from the wall (the bigger the screen is, the closer the LEDs should be placed to the edge of the back cover of your screen). The minimum distance of the LEDs from the visible wall area (the part of the wall you can see when watching your display should be at least 4 cm, otherwise you may get a “spotlight” effect.
When placing your LED strip at the back of your display – start with first LED in bottom left corner (facing back of your display) and go up, right, down and left. The first LED is the one from the long black connector wire going to WiFiLED device. Fasten LEDs at the back side of your display with self adhesive tape (included on the back part of the LED strip).
Fasten LED corners very carefully and gently to avoid LED strip snap or break.
Recommendation: Gently bent the LED strip in corners and let corners dangle to prevent LED damage and unsticking from surface.
Your package may contain comfortable fixing adhesive squares and plastic ties for your convenience. Place it especially to corners and regularly along to LEDs to fix your LED strip properly. Fastening tape on the back side of LED strip is not designed for repeatable attachments.